I cannot WAIT!!
Friday, May 22, 2009
Monday, May 11, 2009
Renaissance costumes finally complete and in use!!
I posted some of these on my other blog, but I felt the need to post some costume related ones here. The full photostream is on Flickr and you can get to that by clicking here or on any of the photos below.
Here is a full length shot of me and C & J. Ignore the stupid look on my face and Jack's completely skinny belt...I didnt catch the belt before we were half way across Nashville and the smart-assed look is a permanent feature.

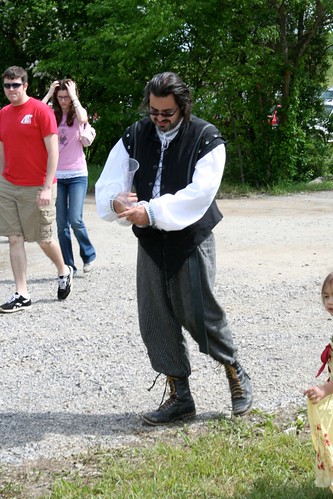
Here is full length Chris fighting some beer glasses.
Here is a close up of Julia's lacings.

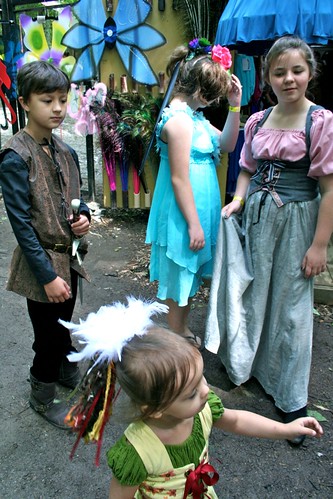
And here is a full length of her and Jack. And, a good shot of Caris's hair fall...the feathers on top were just added to annoy her when she wasnt looking;-P. Also, the blue fairy Hope is wearing is a previous year's costume of Julia's. It is much loved by any girls that join us each year and has been worn by several of them who needed a costume in a pinch.
So that is a good smattering of costume photos. Click on one of the pictures to see the full set--or on the link at the top.
It was fun!! Come with us next time!!
Here is a full length shot of me and C & J. Ignore the stupid look on my face and Jack's completely skinny belt...I didnt catch the belt before we were half way across Nashville and the smart-assed look is a permanent feature.

Here is full length Chris fighting some beer glasses.

Here is a close up of Julia's lacings.

And here is a full length of her and Jack. And, a good shot of Caris's hair fall...the feathers on top were just added to annoy her when she wasnt looking;-P. Also, the blue fairy Hope is wearing is a previous year's costume of Julia's. It is much loved by any girls that join us each year and has been worn by several of them who needed a costume in a pinch.

So that is a good smattering of costume photos. Click on one of the pictures to see the full set--or on the link at the top.
It was fun!! Come with us next time!!
Wednesday, May 6, 2009
Stop the Insanity--Placemat Pillows, Part 2
Uggg. Let me explain. This could have been easy. But I had a "great idea". That is frequently where it all goes downhill fast for me. I will just give you the nightmare in pictures and see if you can figure where good sense went south and the lunacy began.
The plan is make these placemats into four pillows.
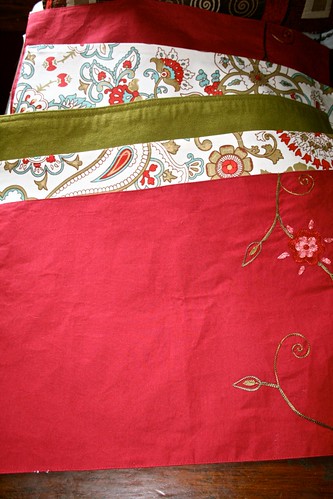
The light colored print ones arent double layered so I thought I would split open the green one and use it to back the two print ones. Totally simple, right? Yea, not so much. The green placemat had interfacing sticking the two sides together and was not so easy to pull apart as you would think, but I was determined and in the end I did prevail. Pillow casings done.
{watch my brain work here}
"Hmmmm, what to fill them with. I have a gigantic bag of batting in my craft supplies. I could just fill them with that. Or I could dismantle other pillows like i did previously. That would be all "green" and recycley. Or, if I am recycling anyway, I could use feathers!! I have a feather pillow I never use. Yea, that's the ticket. I will make some awesome feather pillows. They will be all soft and squishy and great. I'm doing it!!"
So, I find some on hand thick fabric that I can makes pillow forms out of. Eyeball the size I want, cut and stitch--leaving an opening for putting the feathers in that I can sew up later.
Looking at this pillow, I figured I could get all four out of this one pillow.
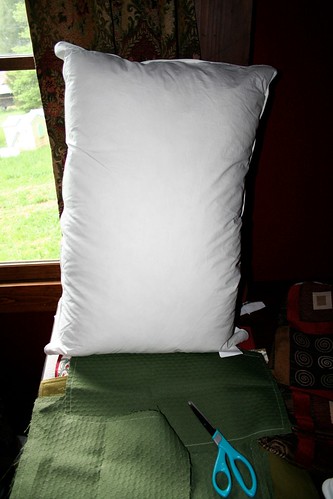
Cut that bad boy open!
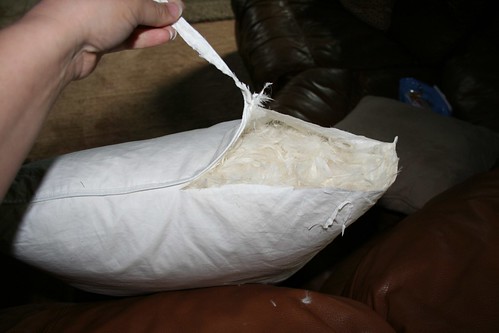
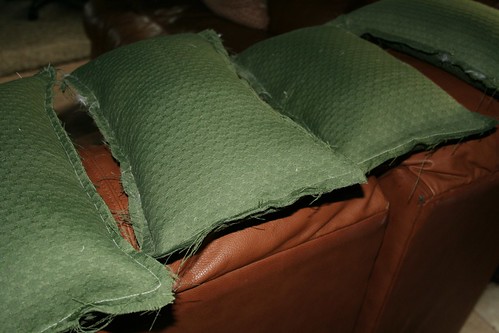
Now for the totally fun part. I have to get all these loose feathers into those little pillow forms. Simple grab and stuff. Hmmm, maybe I will go outside for this part. It was totally easy and not messy at all.
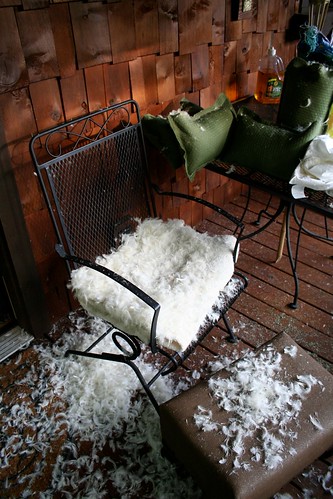
In fact, I am so clean after this that I feel sure I can go out to dinner without changing my clothes or anything.
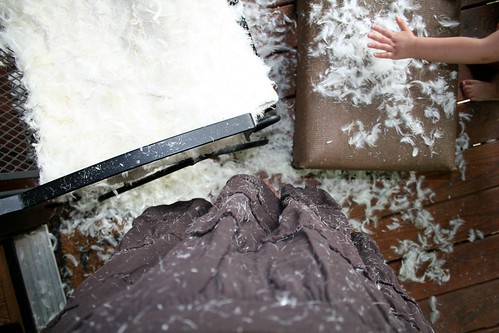
Okay, cute little pillow forms. It only took like what, an hour to do that. Something that should have taken 5 minutes tops.
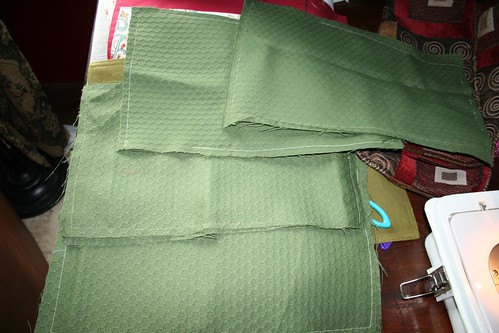
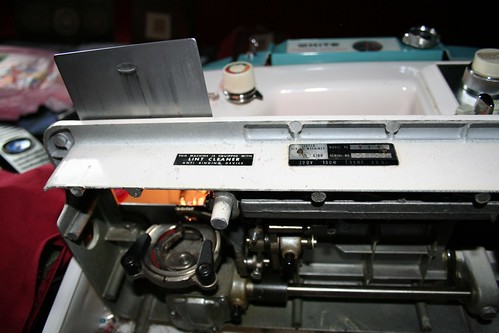
Now, I think I will spend 2 hours rethreading needle after needle that keep breaking and popping the entire bobbin casing out a few times just for fun. Miss White (the sewing machine) and I are not getting along today. I think she has something against feather pillows. Because I am mad at her I will show you compromising pictures of her inner workings. She should be embarrassed by her behavior.
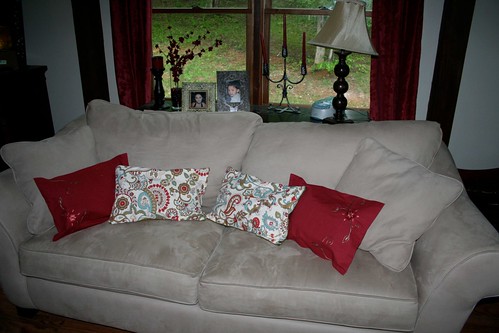
Anyway, eventually this all got done and the pillows are cute. (I totally should have smoothed the nap on my microfiber couch.)
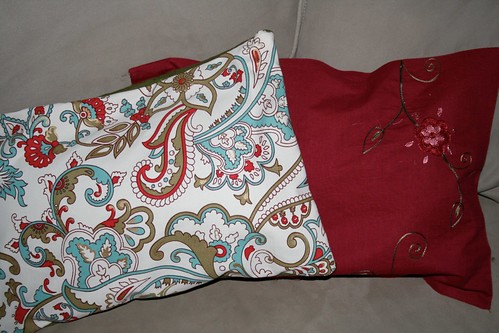
I only need like 10 more of them, but that will totally have to wait until I forget what a pain in my butt this was.
The plan is make these placemats into four pillows.

The light colored print ones arent double layered so I thought I would split open the green one and use it to back the two print ones. Totally simple, right? Yea, not so much. The green placemat had interfacing sticking the two sides together and was not so easy to pull apart as you would think, but I was determined and in the end I did prevail. Pillow casings done.
{watch my brain work here}
"Hmmmm, what to fill them with. I have a gigantic bag of batting in my craft supplies. I could just fill them with that. Or I could dismantle other pillows like i did previously. That would be all "green" and recycley. Or, if I am recycling anyway, I could use feathers!! I have a feather pillow I never use. Yea, that's the ticket. I will make some awesome feather pillows. They will be all soft and squishy and great. I'm doing it!!"
So, I find some on hand thick fabric that I can makes pillow forms out of. Eyeball the size I want, cut and stitch--leaving an opening for putting the feathers in that I can sew up later.

Looking at this pillow, I figured I could get all four out of this one pillow.

Cut that bad boy open!

Now for the totally fun part. I have to get all these loose feathers into those little pillow forms. Simple grab and stuff. Hmmm, maybe I will go outside for this part. It was totally easy and not messy at all.

In fact, I am so clean after this that I feel sure I can go out to dinner without changing my clothes or anything.

Okay, cute little pillow forms. It only took like what, an hour to do that. Something that should have taken 5 minutes tops.

Now, I think I will spend 2 hours rethreading needle after needle that keep breaking and popping the entire bobbin casing out a few times just for fun. Miss White (the sewing machine) and I are not getting along today. I think she has something against feather pillows. Because I am mad at her I will show you compromising pictures of her inner workings. She should be embarrassed by her behavior.

Anyway, eventually this all got done and the pillows are cute. (I totally should have smoothed the nap on my microfiber couch.)


I only need like 10 more of them, but that will totally have to wait until I forget what a pain in my butt this was.
Monday, May 4, 2009
Placemat Pillow Project
I found this fabulous and crazy simple idea to make throw pillows out of double layered placemats at this fabulous site. How I didnt think of this before now, I have no idea....but I give full credit for this to the artsy-crafty babe.
So here is how you do this...so totally easy.
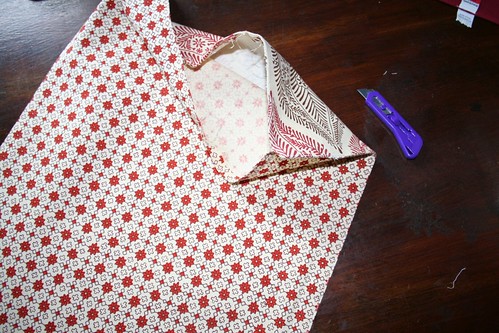
First, take a seam ripper and tear out the stitches on one end. You dont have to go all the way across if you are using batting as a fill, but you probably do if you use a pillow form.
Next, you cram it full of batting.
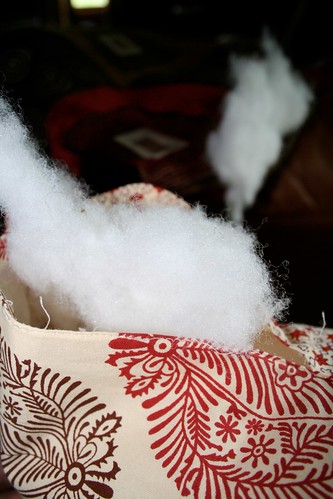
You can kinda see the pillow in the background that came with our couches and that I detest. We have 4 of them and I have them stuck in a trunk because I hate them--they are all 80's geometric print. Barf. I decided this would be a great use of the batting in them so i ripped them open with the same seam ripper and am stealing the stuffing out of them.
Anyway, the final step is to sew up the seam you ripped out. I suppose you could do this by hand, but I used the machine. You could also embellish these at this point if you wanted. I didnt.
This is the final result which honest to goodness took me 5 minutes to make both of....
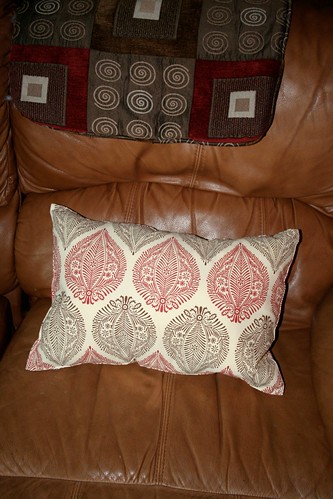
That is the hated pillow shell hanging over the top which I will probably just pitch unless i can think of some better use.
These arent huge, but perfect for a little back support while sitting on the couch. That is all we use them for anyway. If I want a sleeping pillow, I will go to bed.
Here are others that I got to do the same thing with.

We have two matching beige couches in the other room that are very plain--since I refuse to put the hideous 80s pillows on them. I am going to make these to go on those couches and then I have my eye on a really cute elephant pillow at World Market, but so far I am too cheap to buy it. Maybe next trip.
My sister has this same project in the works...you can see hers here.
Anyway, I found this placemat--two acutally--at World Market. (The best store ever.)
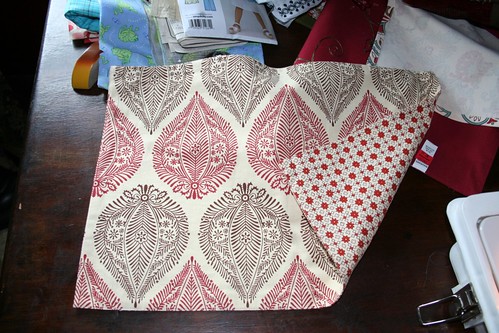
Match my couch and have a different print on back which I thought would be cute.

Match my couch and have a different print on back which I thought would be cute.
So here is how you do this...so totally easy.
First, take a seam ripper and tear out the stitches on one end. You dont have to go all the way across if you are using batting as a fill, but you probably do if you use a pillow form.

Next, you cram it full of batting.

You can kinda see the pillow in the background that came with our couches and that I detest. We have 4 of them and I have them stuck in a trunk because I hate them--they are all 80's geometric print. Barf. I decided this would be a great use of the batting in them so i ripped them open with the same seam ripper and am stealing the stuffing out of them.
Anyway, the final step is to sew up the seam you ripped out. I suppose you could do this by hand, but I used the machine. You could also embellish these at this point if you wanted. I didnt.
This is the final result which honest to goodness took me 5 minutes to make both of....

That is the hated pillow shell hanging over the top which I will probably just pitch unless i can think of some better use.
These arent huge, but perfect for a little back support while sitting on the couch. That is all we use them for anyway. If I want a sleeping pillow, I will go to bed.
Here are others that I got to do the same thing with.

We have two matching beige couches in the other room that are very plain--since I refuse to put the hideous 80s pillows on them. I am going to make these to go on those couches and then I have my eye on a really cute elephant pillow at World Market, but so far I am too cheap to buy it. Maybe next trip.
My sister has this same project in the works...you can see hers here.
Menu Plan Monday-5/04/09

Okay, last week's menu was a wash. I planned 6 days and we ate 2 of them. I was running around like a chicken all week and cooking was low on the totem pole. The only things I made from last week were the Shrimp and Grits and the Pot Roast. The rest would have gotten bumped to this week, but now I am not in the mood for any of it.
So, here is the new week's menu!
Monday--Burger Florentine
Tuesday--Grilled Fish Tacos with Low Carb Tortillas and homemade Guacamole
Wednesday--BBQ Chicken with homemade Alabama White BBQ sauce
Thursday--Chili
Friday--Out for our 16th Anniversary
Saturday--Turkey Legs and Yard long beers at the Renaissance Festival--it got cancelled last weekend due to rain, but we would have eaten this twice anyway!
Burger Florentine
by Dottie at the Low Carb Friends board
2 lbs ground beef
1/2 cup diced onion
1 bag frozen spinach*
8 oz cream cheese
1/2 cup heavy cream
1/2 cup parmesan cheese
Salt and Pepper
Brown ground beef and onions. Add spinach and cook until meat is done.
Meanwhile, cut cream cheese into several small cubes (ie break it into little pieces with your fingers). Add to cooked meat mixture along with cream, parmesan and salt and pepper. Cover pan with lid and cook a few minutes until cream cheese is softened then mix everything together well.
You could now bake this in a casserole for 20 minutes on 350 like the recipe says, but i never do. This is like hamburger helper for me and gets served right out of the skillet. Make sure you use enough salt and pepper...this stuff is awesome.
*(sub chopped broccoli if you dont like spinach, but spinach is waaay better)
Alabama White BBQ Sauce
from Low Carb BBQ Book by Dana Carpenter
1/2 cup mayo
3 tbsp white wine vinegar
1 tsp spicy mustard
1/2 tsp creole seasoning
1 clove crushed garlic
1 tsp prepared horseradish
Just whisk this alltogether and baste chicken with it. Turns an amber color when you smoke it on the grill.
Saturday, May 2, 2009
Low Carb Chocolate Pie
Today I tried a "Chocolate Pie" recipe I found with very high hopes. My results were not very good. It went together easily and things did look okay after the whipped cream was put on top.

That is when the issues began....well culminated. Problem one was that it never "thickened" even after being in the freezer for 2 hours. It was "no bake" so it was never hot. Two hours should have been plenty of time. It was the texture of, hmmmm.....I believe paste is the word i am looking for. Nice, thick paste. Then upon first bite it had chunks of chocolate in it. This seems like it would be a good thing, but it wasnt. Unsweetened chocolate flakes are utterly tasteless. It should have been fully incorporated into the base of the "pie" but as soon as the melted chocolate hit the creamy filling part it got cold and hard. I blame the entire fiasco on that darn chocolate. I think if it had been fully blended in there then it would have been fine.

This chocolate "pie" was not pie at all. My definition of pie is that I can get it out of the pan with a pie cutter and it look triangly on my plate. I need that more than I need fabulous taste from my pie. This was a big mess for me. More of a freezing cold and kinda gritty pudding. I am sad.
This all being said, the pictures of the original recipe of this look delicious and not at all gritty and weird. I think I need that girl to come over here and make me one because I have made a mockery of her recipe.

That is when the issues began....well culminated. Problem one was that it never "thickened" even after being in the freezer for 2 hours. It was "no bake" so it was never hot. Two hours should have been plenty of time. It was the texture of, hmmmm.....I believe paste is the word i am looking for. Nice, thick paste. Then upon first bite it had chunks of chocolate in it. This seems like it would be a good thing, but it wasnt. Unsweetened chocolate flakes are utterly tasteless. It should have been fully incorporated into the base of the "pie" but as soon as the melted chocolate hit the creamy filling part it got cold and hard. I blame the entire fiasco on that darn chocolate. I think if it had been fully blended in there then it would have been fine.

This chocolate "pie" was not pie at all. My definition of pie is that I can get it out of the pan with a pie cutter and it look triangly on my plate. I need that more than I need fabulous taste from my pie. This was a big mess for me. More of a freezing cold and kinda gritty pudding. I am sad.
This all being said, the pictures of the original recipe of this look delicious and not at all gritty and weird. I think I need that girl to come over here and make me one because I have made a mockery of her recipe.
Friday, May 1, 2009
It's been a CRAZY week!
Okay, I am feeling like I'm being a bit blogger slacky this week so I thought I would give a little overview of the week. I havent been as lazy as it seems. It is the week before Renaissance Festival here in TN and I have been doing alot of finish up costume sewing and odds and ends. I took some pics....
These are the hair falls for me and the baby girl.

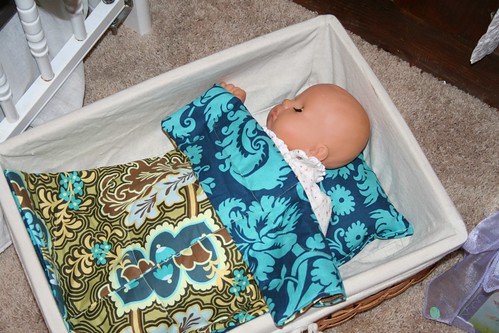
Maisie got a new quilt and pillow for her bed.
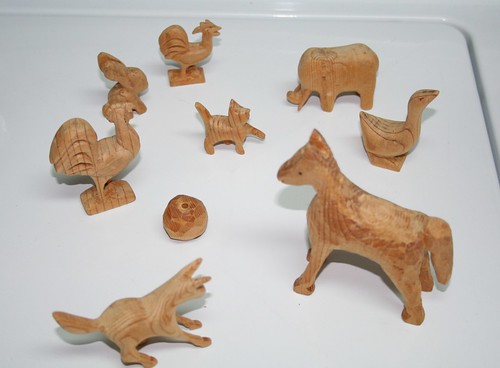
I went to a thrift store and got these for $3...tell me how you could possibly pass that up?! I have no idea what I am going to do with them, but I like them.
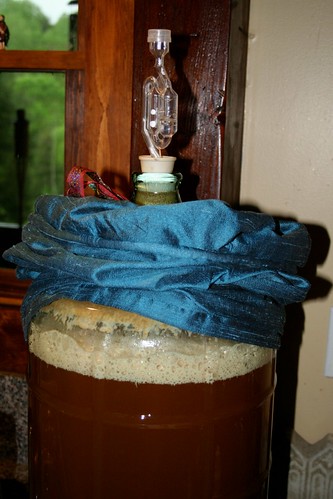
We have new beer brewing or fermenting or something....
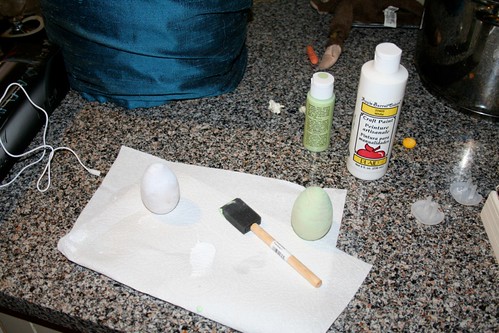
Baby girl needed some eggs for her kitchen. I got these wooden ones at Hobby Lobby for $.99 each and we painted them to match our chicken's eggs.
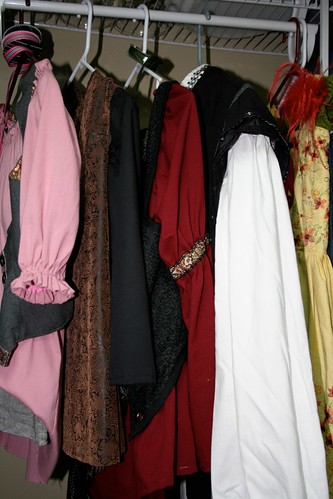
All these costumes are done and ready to roll. This week I had to finish Chris's jacket and make both the boy's shirts....and add about 800 million grommets.
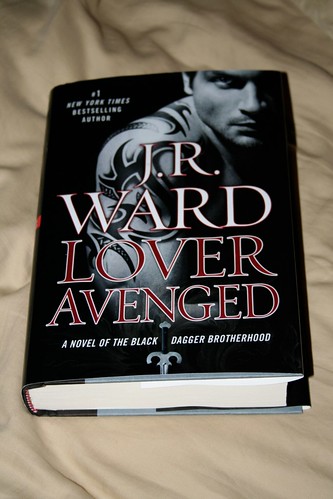
And I have a new book that I want to get through that has been very neglected for this week and now is getting a lot of attention. Hellllooooo, Rehvenge!! I cant explain this except to say it is smut and it is good.
Now, if this unending rain would just STOP already, I would be headed out into the woods for some good Ren Fest revelry.
These are the hair falls for me and the baby girl.

Maisie got a new quilt and pillow for her bed.

I went to a thrift store and got these for $3...tell me how you could possibly pass that up?! I have no idea what I am going to do with them, but I like them.

We have new beer brewing or fermenting or something....

Baby girl needed some eggs for her kitchen. I got these wooden ones at Hobby Lobby for $.99 each and we painted them to match our chicken's eggs.

All these costumes are done and ready to roll. This week I had to finish Chris's jacket and make both the boy's shirts....and add about 800 million grommets.

And I have a new book that I want to get through that has been very neglected for this week and now is getting a lot of attention. Hellllooooo, Rehvenge!! I cant explain this except to say it is smut and it is good.

Now, if this unending rain would just STOP already, I would be headed out into the woods for some good Ren Fest revelry.
Subscribe to:
Comments (Atom)


